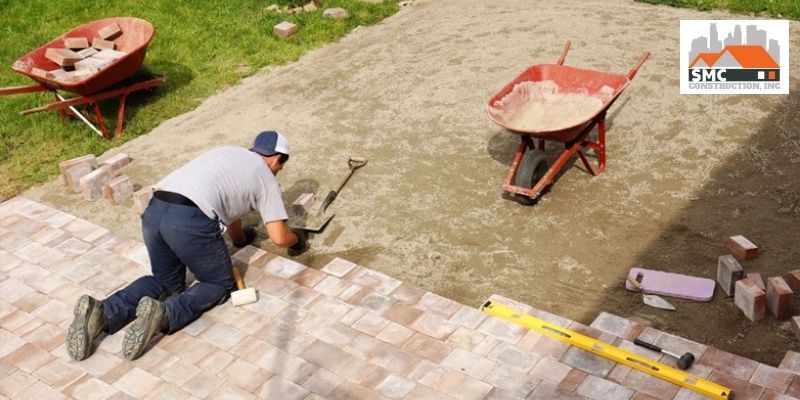
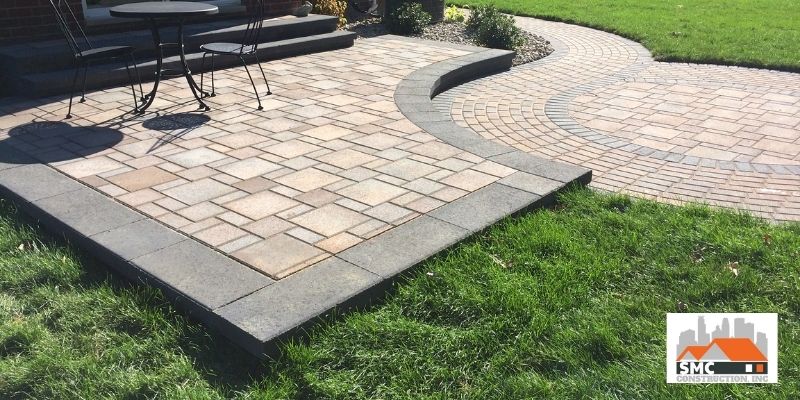
Brick patio repair is becoming common in our current economic times. The reason for this could be because these types of patios are old or were improperly installed during construction. Either way, the eventual result is a necessary patio repair. The repair work of a brick patio at an older house should be left to seasoned professionals. This is because it is a specialty service that requires expertise. However, you can still attempt a DIY project like this with proper support, especially if you repair it early on in the deterioration process.
How To Repair A Brick Patio On An Old House

Brick patio repair is a specialty service for several reasons. It requires the knowledge to identify the reason for the failure and look for the best possible solution to it. A common issue with a brick patio on an old home is sinking which occurs due to the contraction and expansion in the ground as a result of the changing weather throughout the year. Another issue with brick patios is the weathered mortar. The mortar may have been affected by chips and cracks or may have practically disappeared.
Whatever the cause of the problem, you should repair a damaged brick patio. To get the task done, here are some steps you can follow:
1. Get rid of the old pavers
It is usually impossible to fix damaged pavers or bricks once they become damaged. To begin the repairs, remove the offending pavers. Use chalk to outline the area that needs repair. If you have low spots to fix, you must mark out the repairs. However, you can skip this if it is only one or two bricks you will be repairing.
Lift the broken pavers using a small pry bar for leverage. Be gentle when doing so to avoid damaging adjacent pavers. If possible, begin removing the pavers at the edge of the patio. For bricks that are too hard to remove, drill a small hole in their center and break them apart using a chisel. Ensure that you always direct the chisel to the inside of the brick.
Next, sort out the removed pavers. You can discard broken pavers if you plan on replacing them. However, you may still need some of the pavers you removed if you are fixing a low spot.
2. Prepare the base
A solid base is required for concrete patio pavers and bricks to rest upon. Failure at the base underneath can cause both your patio pavers and bricks to sink later on. Do not leave the base as it is. Instead, get rid of the old base and replace it with a new one. You can use basic leveling sand on this part of the project which can save you money. You may need to use polymeric sand. To remove the old sand beneath your pavers, use a shovel or trowel. You do not need to remove any gravel you find under the sand.
Place sand where your replacement pavers will be. Make use of a straight edge to level and smooth it out. Pack it down. If you are replacing a single paver, it is okay to use your foot and stomp on the ground.
Continue with the adding, smoothing, and packing of sand until you have a tall base to make your new bricks even with the old ones. To be sure of this, verify the level by placing a new brick in the opening. You will need to take away sand or add more sand until the new brick sits even with the old ones.
3. Insert the new pavers
Once you have prepared the base, carefully lay your new pavers. During this step, take note of any designs or patterns originally built on your patio. Your new layout should not go against the old one, and you will know if you pay close attention to what you are doing. Put the recycled or new pavers into place one at a time. Ensure they are level as you do so.
If the bricks do not fit or are too tight, cut them to make them fit. If the brick you pulled out is only cracked or chipped, use it as a guide for cutting the other ones. You need a chisel and hammer to reshape a few of the pavers. However, you can use a saw if you have several pavers to trim.
As you reinstall your pavers, apply a bead of construction adhesive on the sides. This will help reduce the possibility of future shifting. The sand you use should adequately hold the bricks together. However, you should know that using adhesives will make removing the bricks difficult if there is a need to do so.
4. Set your brick patio pavers

This is where the special polymeric sand comes in handy. You may want to set your paver repair with it. This special sand is a bonding agent that will help hold your new pavers in place. It will also prevent the growth of weeds between your pavers.
Spread the sand over the area you just repaired. Sweep the sand into the pocket of spaces in the pavers using a broom. Use a rubber mallet to strike both the new pavers and the adjacent ones. The vibrations will help set the sand in the cracks this time. It will also help keep your patio repair stable and secure.
Continue spreading the polymeric sand, ensuring it fills the spaces between your pavers. To dampen the sand and ensure that a bond is formed, use a garden hose to mist your brick pavers. The polymer in your sand will be activated and form the bond.
Conclusion
Chips and cracks in brick patios are common. They happen due to many reasons, which may include their use over time and changing weather. You can choose the DIY repair method of a brick patio on an old house if it is just a few damaged bricks. Following the instructions above will help you in the process. If you are not sure about handling this independently or do not have the required tools and knowledge, then it is best to call the professionals. You can call SMC Construction for brick patio repairs.
For more information, please call SMC Construction at 763-400-0251.>


