Professional Tips For Installing Siding
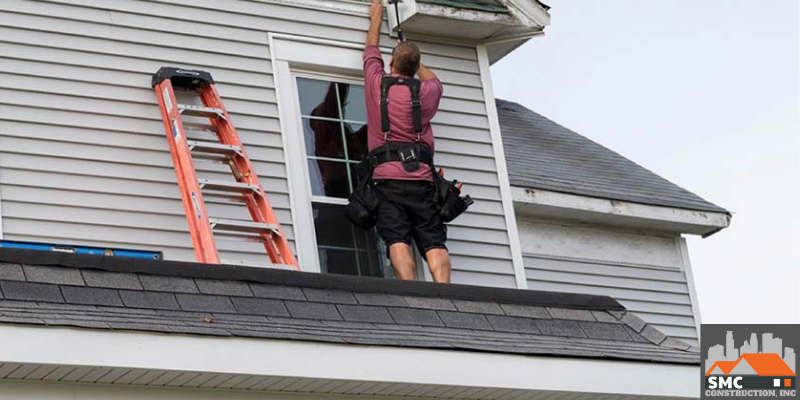
Picking the right siding is the most important thing when remodeling your home’s exterior. In addition to making the right choice of siding, the installation is an essential part of the project. Installing most types of siding is relatively easy. To ensure that you complete this, follow through with professional guidance.
Professional Tips For Installing Siding
Installing siding is not very difficult. However, it does not mean that knowledge and skill(s) are not needed to do the job. The installation must be properly done to avoid it becoming home to all sorts of pests.
Here are some professional tips to help you install your home’s siding…
1. Consider wider starting strips
There are various types of starter strips to choose from when starting your siding, especially if it is vinyl. Many people tend to go with the thinner starter strips because of their affordability. However, this is not always a smart move. It is better if you invest in 3½-inch starter strips. Make sure that no less than 1 inch of it hangs down over the top of your house’s foundation during installation.
You must also be sure that it drops as low as possible while you properly install the strip. It is better if the starter covers the foundation more. This will make the siding more efficient in protecting your house against snow, rain, and other natural elements.
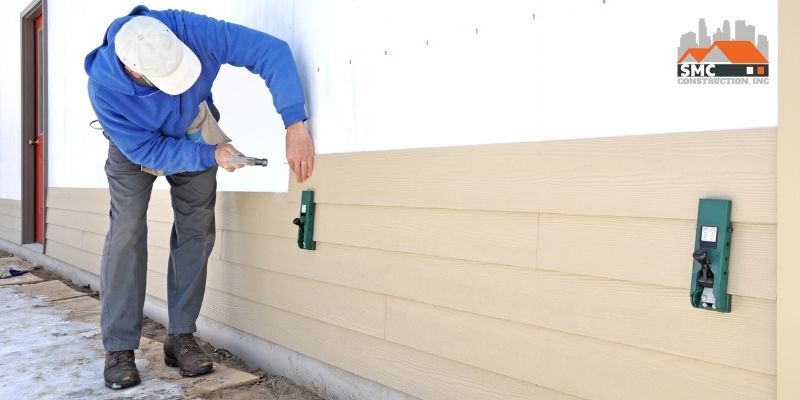
2. Carefully level it out
Siding must be leveled before it can be properly installed. If it is all leveled out, it will function better and will even go on more easily. You should know where the first run of siding will go before you begin the project.
Snap a level chalk line around the base of where the first piece of siding will go. This will ensure that the installation is straight. Take time to level things out throughout the project. This can be done once every 5 courses so that the project continues properly.
3. Leave space for the ends
Home siding, especially vinyl, should be able to slightly move after installation. As a result, ensure that you cut your end pieces so that there is an extra space of about ¼ inch. This space should be at both ends of your siding runs.
Leaving space for the ends will help in the summer months when there usually is expansion. It will ensure that your siding does not buckle or develop other problems along the way.
4. Loosely lock siding down
You should not tightly lock your siding against your house walls. This is very important during installation. Rather, let there be a gap between the siding being locked down and the head of the nails.
Additionally, ensure that this gap is underneath them. This is good and will allow the proper movement of the siding in case it contracts or expands.
5. Lift and nail
Your siding should not fall apart when the installation is finished. This is the last thing you would want to happen. To prevent this from occurring, slightly pull each piece up in the process of nailing it.
As you go along with the installation, ensure that you lift the piece before nailing it. Doing so will ensure that the pieces are locked securely. It will also help create a sturdy bond between the siding’s sections.
6. Choose the proper nail
Your choice of the nail is important when installing the siding of your home. Galvanized roof nails are a great option and will help hold the siding firmly in place. It will also make sure that the siding stands up against the weather.
When choosing nails, make sure that they are not less than 2 inches in length. Let the nails be longer if the siding is over the top of rigid foam. The weather will corrode un-galvanized nails, so you must go with galvanized ones. Choosing galvanized nails will ensure that your installed siding won’t fail anytime soon.
7. Flash window bottoms
It is proper practice to flash the bottom corners of every one of your windows. Do this before starting the installation of your siding. To achieve this, simply get a cut-out section of felt paper. Fit this paper directly over the window’s corners and use roofing nails to nail it into place.
The small piece of roofing felt you put around each corner will prevent water from getting behind the J channels. As a result, the framing around the windows will not rot. When you do this, water that gets behind will flow down the flashing and out through the existing siding. To ensure that the flashing works properly, allow its bottom to come out over the siding’s run just below it.
Installing Different Types Of Siding
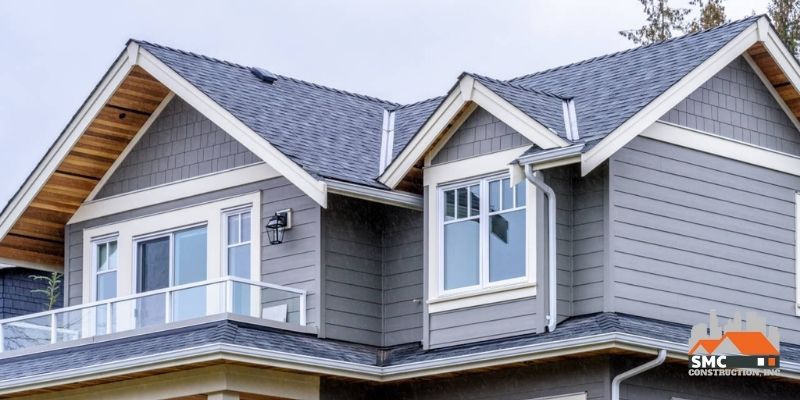
The tips shared above are for general siding installation. Siding materials are different, and the installation depends on your needs and the scale of the project. Here is some additional information about the common types of siding installation:
- Horizontal wood lap siding: Horizontal wood lap siding is great when you are going for a classic exterior. You do not need to be a professional to do this. Just follow some of the general installation tips to complete your installation.
- Fiber-cement lap siding: Fiber-cement lap siding is not prone to insect, rot, or water damage. It even provides a wood-like, natural look. Just like wood siding, installing this type of siding is not difficult.
- Vinyl siding: Vinyl siding is one of the easiest to install when compared to other options. It cuts easily, does not require painting, and can be put up quickly. Its installation is relatively simple.
Conclusion
You can improve the final result of your siding installation by keeping these professional tips in mind. It will also help reduce the time the installation takes and improve the general look of the finished project. They are simple tips to help with almost any type of siding and will also help you complete a proper installation. However, if you are not sure that you have the necessary knowledge and skill to carry all of this out, contact a professional construction team like SMC Construction. Siding is a vital component of your home, and it pays to get the best in the business to get it properly installed for you. For more information, please call SMC Construction at 763-400-0251.
Build Your Dream with SMC
Below are some recent reviews from our raving customers.
Request Your Consultation Today
Please click the button below and submit the form on the next page to request a free estimate. If you want to contact us via phone instead, you can do so at 763-400-0251.